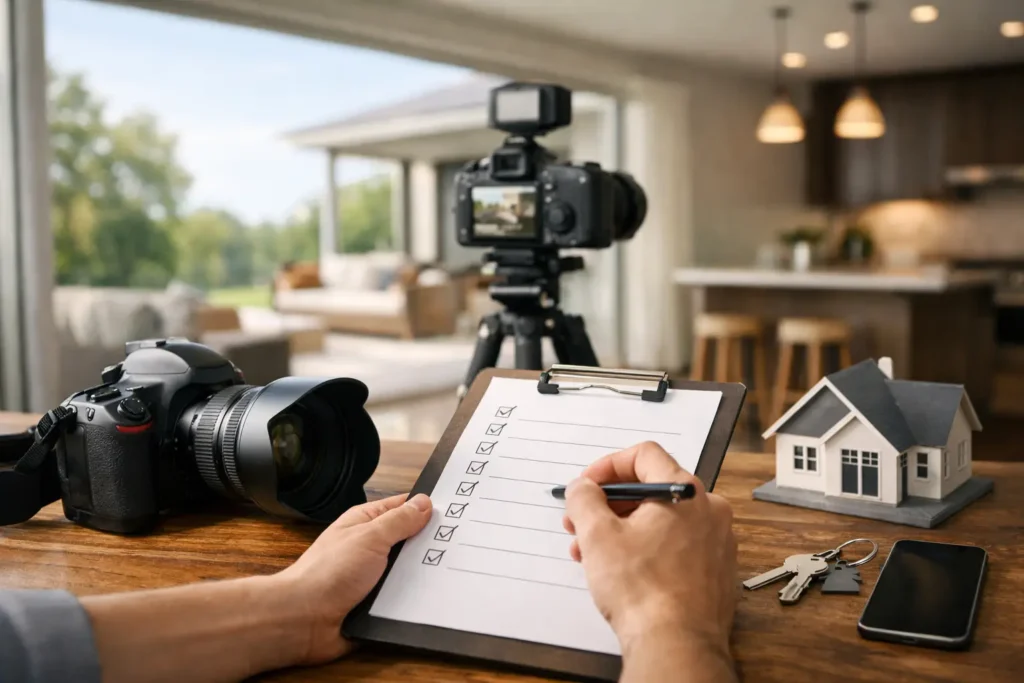
A late shoot, streaked windows, cars in the driveway, and a seller who forgot to hide the pet bowls – that is how good listings lose momentum before they even hit the market. A strong real estate photography checklist fixes that. It keeps your shoot efficient, protects image quality, and helps you present the property like a serious listing instead of a rushed upload.
In South Florida, where buyers compare dozens of listings in minutes, visual presentation is not a small detail. It shapes click-through rate, showing activity, perceived value, and the agent’s reputation. If you want polished media that helps a home stand out on MLS, social, and property sites, the work starts before the camera comes out.
Why a real estate photography checklist matters
Photography problems usually do not come from the camera. They come from poor prep. Clutter, harsh light, unmade beds, crooked art, dead bulbs, and overstuffed counters all pull attention away from the home itself.
A checklist creates consistency. That matters if you are managing multiple listings, coordinating with homeowners, or working on tight timelines. It also reduces reshoots, which cost time, delay launch, and make everyone look disorganized.
There is also a bigger sales angle here. Clean, intentional images help buyers understand layout, condition, and lifestyle. Better visuals can filter out low-intent showings and attract buyers who already feel aligned with the property before they walk in.
Start with listing strategy, not just room prep
Before you send cleaning notes to the seller, get clear on what the shoot needs to accomplish. A downtown condo, a waterfront property, and a family home in the suburbs do not need the exact same visual approach.
Ask what will sell this home fastest. Is it the natural light, the outdoor living area, the renovated kitchen, the lot size, or the building amenities? If the property has premium features, your media plan should reflect that early. Standard interior photography may be enough for some listings. Others need twilight images, drone coverage, floor plans, virtual staging, or a 3D tour to show the full value.
This is where strong agents separate themselves. They do not just order photos. They build a media package around buyer behavior.
Pre-shoot checklist for the exterior
Curb appeal sets the tone for the entire listing. If the outside feels neglected, buyers assume the inside will too. That is true even when the interior is in great shape.
Make sure the lawn is cut, hedges are trimmed, leaves are cleared, and the driveway is clean. Move trash bins out of sight. Remove extra vehicles if possible, especially those blocking the facade. If there are hoses, toys, tools, or delivery boxes near the entry, clear them before the photographer arrives.
Front doors deserve extra attention. A clean entrance, straight welcome mat, fresh hardware, and visible house numbers all photograph well. If the property has a pool, dock, patio, or water view, those areas should be staged as carefully as the main living spaces. In South Florida, outdoor living is not a side feature. It is often a lead selling point.
Timing matters too. Midday sun can be brutal, especially on white exteriors and reflective surfaces. Sometimes the best result comes from scheduling around the property’s orientation, not just convenience.
Interior prep that protects image quality
The goal is simple: remove distractions so buyers focus on space, light, and flow. That means every room should look intentional, not merely clean enough.
Kitchen counters should be mostly clear. Keep a few tasteful items if they support the look, but remove paper towels, dish soap, magnets, drying racks, and small appliances unless they truly add to the space. Stainless steel should be wiped down. Refrigerator doors should be free of family photos and notes.
In bathrooms, close toilet lids, hide personal products, and remove used towels. Fresh white towels can work well if they are neatly folded and consistent with the home’s style. Mirrors and glass should be spotless because streaks show fast in professional photography.
Bedrooms should have neatly made beds, minimal visible clothing, and clean nightstands. In living areas, straighten pillows, declutter shelves, and simplify decor that feels overly personal or crowded. Less usually photographs better, but empty can feel cold. The right balance depends on the listing.
One practical rule helps almost every room: if an item makes the buyer think about the current owner instead of the property, move it.
Light, color, and what sellers often miss
Lighting can elevate a listing or make it feel flat. Turn on all working lights before the shoot, and check that bulbs match in color temperature. A mix of bright white, warm yellow, and daylight bulbs in the same room creates a messy look that is hard to correct naturally.
Open blinds and curtains where natural light helps, but not if the view is bad or the sun is creating harsh glare. This is not always intuitive. Sometimes partially adjusted window coverings produce a cleaner image than wide-open glass.
Replace burned-out bulbs. Clean windows. If a room feels dark because of heavy furniture placement or dark accessories, consider small adjustments before the shoot. You do not need to redesign the house, but you do want the room to read clearly on camera.
The room-by-room real estate photography checklist
A practical real estate photography checklist should be easy for homeowners to follow without needing design experience. Focus on visible impact.
For the kitchen, clear counters, polish appliances, and remove floor mats if they chop up the visual line. For the living room, straighten furniture, hide remotes, and reduce extra decor. In bedrooms, smooth bedding and clear under-bed storage from view. In bathrooms, remove personal care items and close shower curtains neatly if they are staying in frame.
For entryways and hallways, clear shoes, coats, and bags. In laundry rooms, hide detergent bottles and baskets when possible. In home offices, organize cords and remove paperwork. For closets, it depends. If the closet is large and attractive, organize it. If it is small or cramped, it may be better left out of the shot list.
That is the trade-off many agents miss. Not every space needs equal attention, and not every space deserves a hero image.
Pets, people, and everyday life
Occupied homes create the biggest photography challenges because daily life leaves traces everywhere. Pet bowls, crates, litter boxes, toys, and beds should be removed. Family photos, religious items, medications, and valuables should also be put away for both presentation and privacy.
Children’s items need special attention. Bright plastic toys, strollers, and school papers can quickly make a room feel smaller and busier. You are not trying to erase personality. You are trying to create a clean visual story that more buyers can step into.
During the shoot, limit foot traffic inside the home. Extra people slow down room transitions and can accidentally appear in reflections or mirrors.
Don’t forget the details around the shoot itself
A successful shoot is part staging, part logistics. Confirm the appointment time with the homeowner. Make sure the property is fully accessible. Unlock gates, disarm alarms, and secure pets before arrival.
If the community has restrictions around drone flights, gate entry, or common-area access, handle that in advance. If the building includes amenities that should be photographed, verify permissions and timing early. Nothing wastes a production window faster than waiting for access.
Weather is another factor, especially in South Florida. Afternoon storms, wind, and shifting cloud cover can affect exteriors, drone work, and window light. If the property’s main selling features depend on outdoor visuals, flexibility can make a real difference in the final result.
When to go beyond standard photos
Some listings need more than still photography to compete. If the layout is unusual, a floor plan or 3D tour can help buyers understand flow before they visit. If the home is vacant, virtual staging may help buyers visualize scale and use. If the lot, views, or neighborhood setting matter, drone content can show context that ground-level photos cannot.
The point is not to add media for the sake of it. The point is to choose assets that remove friction for buyers and create stronger positioning for the listing. That is especially true when you are trying to justify price, stand out in a crowded area, or win attention fast in the first week.
A polished shoot does more than make a property look good. It makes your marketing look sharp, your process look reliable, and your listing presentation easier to defend. Use a real estate photography checklist before every shoot, and you will spend less time fixing preventable issues and more time putting homes in the best possible light. If you want your listing to act like a 24/7 open house, start by making sure the camera sees what buyers need to see.