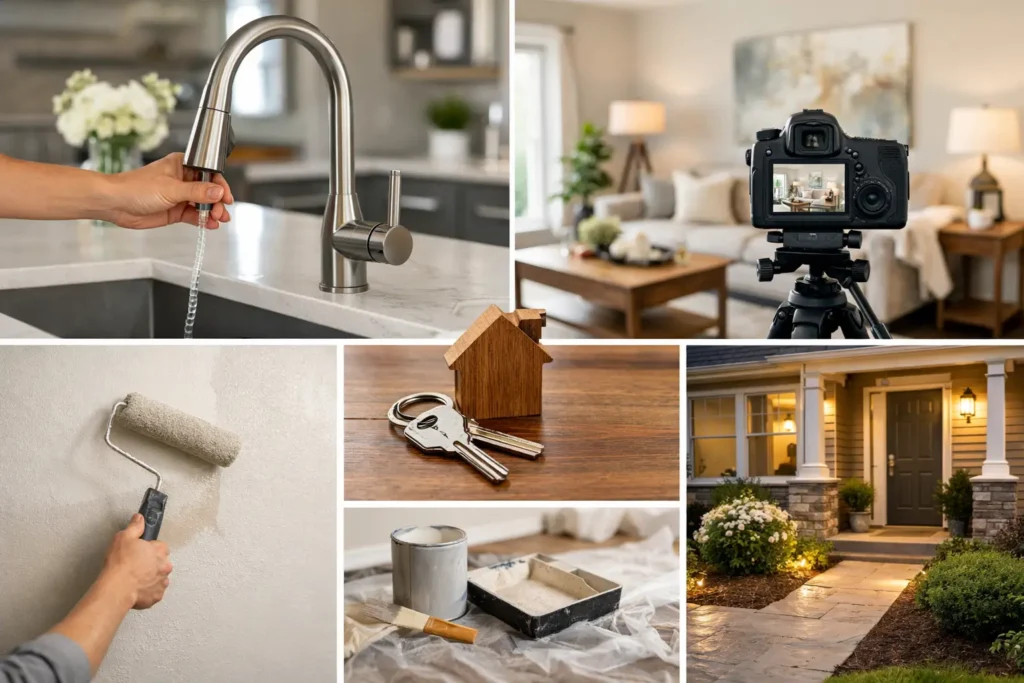
A listing can be professionally photographed and still underperform because the home was not prepared to compete. The best upgrades before listing photos are not necessarily major renovations. They are the targeted improvements that remove visual distractions, improve perceived value, and help buyers picture an easy, elevated life in the property.
In South Florida, where buyers scroll through hundreds of polished MLS listings and lifestyle-driven social posts, details register quickly. Faded landscaping, dated fixtures, dark rooms, or an unfinished patio can make a home feel like more work than it is. The goal is not to disguise the property. It is to present its strongest version before the camera turns every detail into a permanent first impression.
Start With the Upgrades Buyers Can See Instantly
Before recommending projects, look at the property the way a buyer will: first as a thumbnail, then through wide interior images, and finally on a closer review. Prioritize areas that appear repeatedly in listing photography – the front exterior, kitchen, primary suite, bathrooms, living spaces, and outdoor living areas.
A useful rule for agents is simple: invest where the improvement is visible in multiple images or changes the perceived condition of a high-value room. A small repair hidden behind a closet door may matter during inspection. Fresh paint around a worn entryway may improve the first image, the virtual tour, the video walkthrough, and the buyer’s emotional response.
1. Refresh Interior Paint and Touch Up Walls
Few upgrades improve photos as reliably as clean, consistent paint. Scuffed walls, bold personal colors, mismatched touch-ups, and yellowed trim can make an otherwise well-maintained home look dated. A fresh neutral palette gives the photographer a brighter, more cohesive canvas and lets architectural details, furnishings, and natural light do the work.
For most listings, soft whites, warm greiges, and light sand tones photograph well without making a room feel cold. In coastal and contemporary South Florida homes, the right neutral can also support the airy, high-end look buyers expect. Paint does not need to mean repainting every room. Focus on the entry, main living area, kitchen, hallways, primary bedroom, and any wall that looks visibly worn on camera.
Avoid painting solely for a trend if the existing finish is clean and consistent. A rushed, uneven paint job is more noticeable in high-resolution photography than a well-kept wall in a slightly dated color.
2. Upgrade Lighting Where It Counts
Lighting is one of the fastest ways to make a listing feel current. Old flush-mount fixtures, discolored shades, exposed mismatched bulbs, and burned-out lamps weaken a room before the photographer has a chance to balance the image.
Replace the fixtures buyers notice first: entry pendants, dining lights, kitchen island pendants, bathroom vanity lights, and dated ceiling fixtures in the main living area. You do not need designer lighting in every room. You need a coordinated look that supports the home’s price point.
Use matching bulbs with a clean warm-white temperature, typically around 2700K to 3000K. Mixed color temperatures create strange casts that make rooms feel less polished. Your real estate photographer can work with natural and supplemental light, but no amount of technique makes a missing bulb or a flickering fixture look intentional.
3. Give the Kitchen a High-Impact Mini Refresh
The kitchen is often where buyers decide whether a home feels move-in ready. A full remodel can be worthwhile for certain price points, but it is rarely the default answer before photos. Smaller updates can create a dramatic visual difference without delaying the launch.
Cabinet hardware, a modern faucet, clean outlet covers, updated pendants, and decluttered counters can shift the room from tired to market-ready. If cabinets are structurally sound but visually dated, professionally refinishing or repainting them may offer a stronger return than replacing them. Clean grout, polished appliances, and a fresh backsplash also matter because the camera catches buildup and discoloration that the eye may overlook during a quick showing.
The trade-off is timing. If a major kitchen project will push the listing back several weeks in a competitive market, it may not be the best move. Ask whether the improvement will support the asking price and attract a more qualified buyer, rather than simply making the space look different.
4. Make Bathrooms Feel Clean, Bright, and Intentional
Bathrooms can either support the home’s value or quietly erode it. Buyers expect them to feel clean, functional, and calm, even in properties that are not fully renovated. Recaulk tubs and showers, replace a stained shower curtain or worn bath mat, repair dripping faucets, and remove personal care products before photography.
For a focused upgrade, consider a new mirror, modern vanity light, updated hardware, and fresh towels styled in a simple neutral color. These are modest changes, but they create cleaner lines and a more finished look in photos.
If the vanity is severely dated, swollen from moisture, or visibly damaged, replacement is usually more effective than trying to hide it. On the other hand, do not over-improve one bathroom far beyond the rest of the home unless the listing strategy supports it. Consistency often photographs better than one showpiece surrounded by neglected spaces.
The Best Upgrades Before Listing Photos Extend Outside
In South Florida, outdoor space is not an extra. It is part of the lifestyle buyers are shopping for. A patio, pool deck, balcony, waterfront view, or landscaped front entry can be the image that earns the click. Exterior preparation deserves the same attention as the interior.
5. Improve Curb Appeal and the Front Entry
The first exterior photo establishes the listing’s perceived condition. Pressure wash the driveway, walkways, exterior walls where needed, and pool deck. Trim overgrown hedges, remove dead plants, edge the lawn, and clear hoses, bins, toys, and vehicles from the frame.
A freshly painted front door, updated house numbers, and a clean welcome mat can make an entry feel more intentional without a large budget. If the mailbox, exterior light, or door hardware is visibly corroded, replacement often pays off because these elements sit close to the viewer in exterior images.
Do not overlook the roofline, gutters, and screens. You may not need to replace them before a shoot, but obvious damage or debris should be addressed. Aerial photography is especially effective for showing lot size, waterfront access, and neighborhood context, but it also makes deferred exterior maintenance easier to spot.
6. Stage the Outdoor Living Area
An empty patio rarely communicates possibility. A cluttered one communicates maintenance. Create a clear purpose for every outdoor zone before photography: dining, lounging, grilling, poolside relaxation, or a view-facing retreat.
Clean patio furniture, add coordinated cushions if appropriate, and remove faded covers or mismatched décor. Around a pool, store cleaning equipment and keep water clear. For balconies, use scaled furniture rather than crowding the space with oversized pieces. The point is to show buyers how the area lives, not to fill every square foot.
Twilight photography can add a premium layer for homes with strong exterior lighting, pools, water views, or architectural features. It works best when the property is already clean and landscaped. Twilight does not replace daytime preparation; it amplifies it.
7. Replace What Looks Broken, Not Just What Is Broken
Before listing photos, walk through the home specifically looking for small visual failures: loose handles, cracked switch plates, damaged blinds, stained vents, crooked artwork, worn doorstops, chipped baseboards, and missing outlet covers. Individually, these issues may seem minor. Together, they signal deferred maintenance.
This is where an agent can create real value for a seller. Build a photo-prep punch list that separates essential repairs from optional cosmetic improvements. Essential items are visible defects that weaken buyer confidence. Optional items are upgrades that may enhance appeal but need to be judged against budget, timeline, and the likely list price.
For vacant homes, virtual staging can help buyers understand scale and function after repairs and cleaning are complete. It is especially useful for living rooms, bedrooms, offices, and outdoor areas that photograph as empty or awkwardly proportioned. Still, virtual staging should enhance a truthful presentation, not cover defects or imply features the property does not have.
Coordinate Upgrades With the Photo Strategy
The strongest listing assets begin before shoot day. Once you know the property will include photography, aerial images, video, a 3D tour, or virtual staging, preparation becomes more deliberate. A Matterport or CloudPano tour, for example, gives buyers more time to examine a room than a single still image does. Details that might escape a quick photo can become obvious in an immersive walkthrough.
Schedule upgrades early enough to allow for final cleaning, staging, and a full pre-shoot walkthrough. Sellers often complete projects until the last minute, then leave packaging, tools, and contractor dust behind. That creates stress and limits what can be captured. The finished home should be photo-ready before the media team arrives, not while they are setting up.
The right upgrades do more than make photos prettier. They help buyers understand the value, condition, and lifestyle behind the listing – which leads to stronger first impressions and more purposeful showings. Before you book the shoot, ask one practical question: what will a buyer notice in the first three seconds? Improve that first, then let the visuals carry the listing forward.