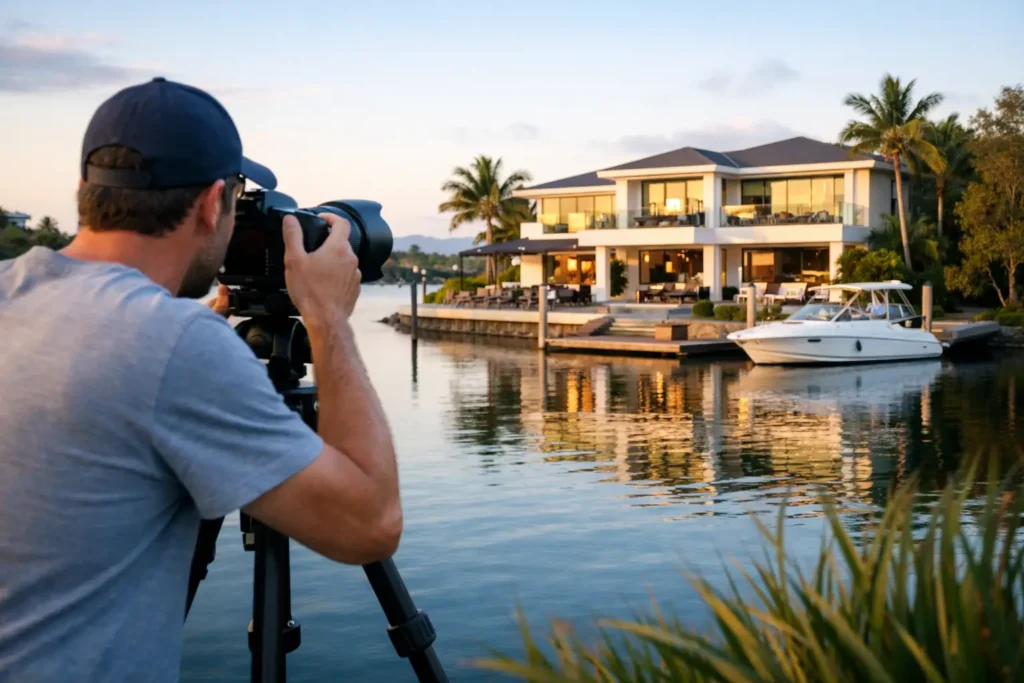
Waterfront buyers are not only shopping for square footage. They are buying the first coffee on the terrace, the sunset over the water, the dock outside the back door, and the feeling of privacy that comes with the view. Knowing how to photograph waterfront homes means capturing that lifestyle while still giving buyers a clear, accurate read on the property itself.
For South Florida agents, that balance matters. Miami-Dade, Broward, and Palm Beach buyers see polished waterfront listings every day. A dark interior, a blown-out window, or an aerial shot that makes the home look disconnected from the water can lower perceived value before a showing is ever scheduled. The right photography turns your listing into a 24/7 open house and gives serious buyers a reason to book a tour.
Start With the Water, but Do Not Let It Take Over
The water is usually the headline feature, but it should not become the only subject in every frame. Buyers still need to understand room size, finishes, flow, and usable outdoor space. The strongest images connect those elements to the view.
In a living room, frame enough of the seating area, flooring, and ceiling to establish the space, then use the water as the visual payoff beyond the glass. On a terrace, show the dining area or lounge setup first, with the shoreline, pool, dock, or canal giving the image its context. This approach communicates something more valuable than “there is water nearby.” It shows how the homeowner experiences it.
Avoid standing too close to a window and photographing only the exterior. That can make a premium room feel like an afterthought. Step back, choose a clean angle, and create a composition that lets the room and the view work together.
How to Photograph Waterfront Homes in Difficult Light
Waterfront properties create a high-contrast challenge. Bright sun reflecting off a bay, pool, canal, or ocean can be far brighter than the interior. If a photographer exposes for the room, the view often turns white. If they expose for the view, the room becomes shadowy and uninviting.
Professional exposure blending solves this problem by preserving detail inside and outside the windows. The final image should feel natural, not artificially dark or overly processed. Buyers should be able to see the cabinetry, furniture, and architectural details while also recognizing the water, sky, horizon, and nearby shoreline.
Timing is equally important. Midday can work for aerial photography because it shows water color and property boundaries clearly. For exterior and lifestyle-driven shots, however, early morning or late afternoon often produces more dimension. Side light can reveal landscaping, façade texture, dock lines, and outdoor features that flat light hides.
Twilight is particularly effective when the home has strong exterior lighting, a pool, fire features, or broad windows facing the water. A properly executed twilight image makes the property look active and aspirational without misrepresenting the setting. It can be a powerful lead photo for a high-end listing, especially when the water reflects the home’s lighting.
Prepare the View Before the Camera Arrives
A waterfront shoot starts before the first image is taken. Small details become obvious in photos, particularly when a wide view makes the exterior part of the composition.
Clear the patio of covers, loose cushions, hoses, pool tools, trash bins, and personal items. Straighten chaise lounges, open umbrellas only when they improve the scene, and remove boats or personal watercraft if they distract from the property. A dock may look better with a clean, well-positioned vessel, but it depends on the listing strategy. For a home marketed as a boater’s dream, a tasteful boat can add scale and help buyers picture the lifestyle. For a property selling privacy and open water views, it may block the asset you need to showcase.
Inside, clean every glass door and window. Smudges, salt residue, and rain spots are easy to miss in person but stand out when sunlight hits the glass. Turn on practical lights selectively, open shades fully where the view deserves attention, and check that outdoor furniture is arranged for a real use case rather than pushed against the walls.
Use Angles That Explain the Property’s Relationship to Water
Not all waterfront is equal, and your photos should make that distinction clear. Is the home on open bay, an intracoastal channel, a lake, a river, or a canal? Does it have direct ocean access? Is there a fixed bridge, a private dock, or a wide turning basin? Photography cannot replace listing details, but it can make those details easier for buyers to understand.
Ground-level exterior images should show the transition from house to outdoor living to water. A wide rear elevation can establish the pool, patio, landscaping, and shoreline in one shot. Then move closer for supporting images of the dock, covered terrace, outdoor kitchen, or waterfront balcony.
Be careful with ultra-wide angles. They can make a compact yard look larger, but they can also distort vertical lines and mislead buyers about proximity to neighboring homes or the actual size of the water frontage. The goal is strong presentation, not visual confusion. Clean verticals and realistic proportions protect credibility when buyers arrive for a showing.
Make the Dock and Seawall Part of the Story
For many South Florida waterfront buyers, the dock is not a secondary feature. It is a decision point. Photograph its length, boat lift, power pedestals, seating areas, and access path clearly. If the home has a seawall, show it in a way that indicates condition and relation to the yard, without attempting to make visual claims the listing cannot support.
A few deliberate details can help: cleats, a clean gangway, a well-maintained lift, or the view looking back toward the house. These images give boaters a faster understanding of whether the property belongs on their shortlist.
Aerial Photography Is a Marketing Advantage, Not an Add-On
Drone photography is often the fastest way to explain a waterfront home’s position. It can show the distance to open water, the width of a canal, nearby marinas, the shape of the lot, the direction of the view, and the home’s connection to major waterways.
The best aerial images do more than fly high. A lower oblique angle can show the home, pool, dock, and water in a single frame. A higher image may clarify the route to the bay or ocean. Use both when the property’s location justifies it, but do not fill the gallery with repetitive overhead shots.
Drone capture also requires judgment. Flight restrictions, weather, wind, neighboring privacy, and community rules can affect what is possible. A professional operator plans for these conditions and captures the images that serve the listing, rather than treating aerials as a generic checklist item.
Build a Gallery That Moves Buyers Through the Home
Your photo order should create momentum. Lead with the strongest image, which may be a twilight rear exterior, a bright living space framing the bay, or a drone shot that immediately explains the location. Follow with the main interior spaces, then use exterior and waterfront images to reinforce the lifestyle throughout the gallery.
Do not save the water for the final few photos. Buyers scrolling quickly should understand the home’s waterfront value within the first several images. At the same time, do not repeat nearly identical views from every room. Give each image a job: establish the property, show the best entertaining space, explain the dock, reveal the primary suite view, or clarify the home’s position on the water.
For larger or architecturally complex homes, a 3D tour can complement still photography by showing how the rooms connect to terraces, balconies, and outdoor amenities. Photos create desire. A well-produced virtual experience helps qualify buyers who want to understand the layout before they visit.
Edit for Accuracy and Premium Appeal
Waterfront editing should enhance clarity, not invent a different day. Water color may be adjusted for consistency when conditions allow, but it should not look neon or implausible. Skies should retain natural texture. Window views should match the property’s actual orientation and surroundings.
The same standard applies to virtual enhancements. Virtual staging can help an empty terrace show its potential, and virtual dusk can support a marketing campaign when used appropriately. But listing visuals should always set expectations that the in-person property can meet. That is how you reduce unnecessary showings and attract buyers who are genuinely aligned with the home.
A waterfront home has a built-in competitive advantage, but it only works when the listing makes that advantage immediate and believable. Plan the property, time the light, use aerials with purpose, and let every frame show how the home lives beside the water. When buyers can picture themselves there before they click “schedule a showing,” your marketing is doing its job.