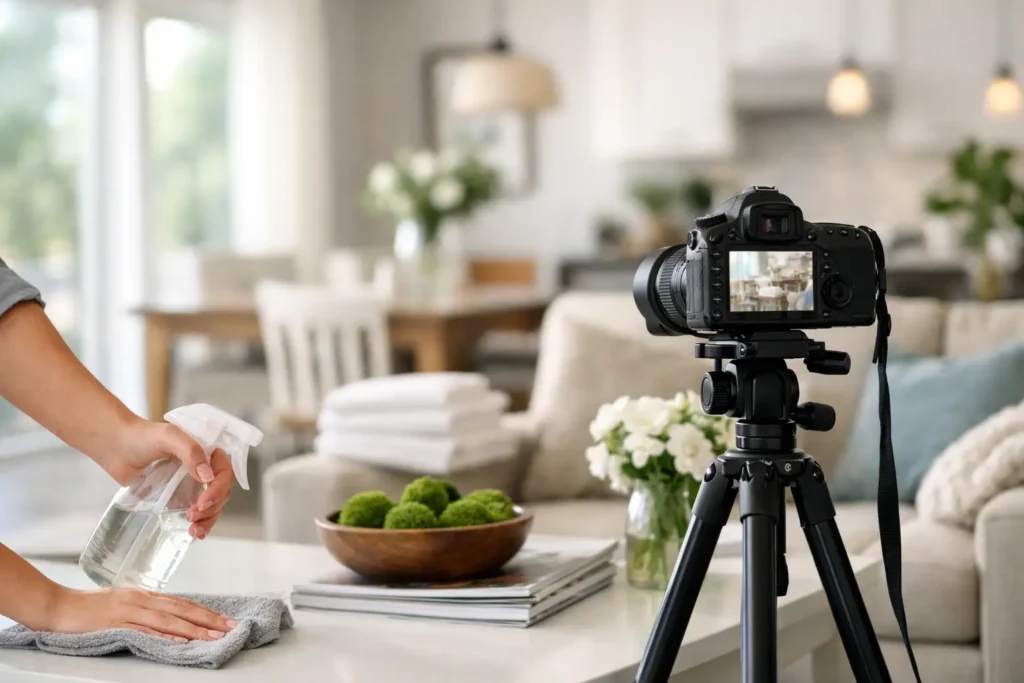
The camera is not fair. It notices the cord behind the nightstand, the shampoo bottles in the shower, and the one dead plant on the patio that buyers would never clock in person. If you want to know how to prepare home for listing photos, start with this reality: great real estate photography is not about making a property look different. It is about making it read clearly, instantly, and competitively on a small screen.
That matters even more in South Florida, where buyers scroll fast and compare everything. A well-prepared home photographs as brighter, larger, cleaner, and more valuable. A poorly prepared one creates friction before a showing is ever booked.
How to prepare home for listing photos before shoot day
The best listing photos are built before the photographer arrives. By the time the camera comes out, the heavy lifting should already be done. That means cleaning, simplifying, and making sure every room supports the sale instead of distracting from it.
Start with the idea of visual priority. Buyers do not need to see how a seller lives. They need to see space, light, layout, and condition. Anything that competes with those four things should be reduced or removed.
Cleanliness comes first because cameras exaggerate dust, streaks, and clutter. Floors should be swept and mopped. Counters need to be cleared and wiped down. Stainless steel should be polished. Glass shower doors need attention. If the home has large-format tile, glossy cabinetry, or mirrored finishes, smudges will absolutely show.
Decluttering is separate from cleaning, and it usually takes longer. The goal is not to empty the home. The goal is to edit it. Leave enough furniture and decor to define the room, but remove whatever makes it feel busy. Overfilled shelves, piles of mail, pet beds, extra chairs, and oversized personal items all make rooms feel smaller on camera.
Depersonalizing matters too, especially for owner-occupied listings. Family photos, kids’ artwork, religious items, magnets on the fridge, and highly specific collections pull attention away from the property itself. Buyers should be able to imagine their life there without mentally moving someone else out first.
The rooms that need the most attention
Not every room carries the same weight in listing photos. Living areas, kitchens, primary bedrooms, bathrooms, and outdoor spaces do the most work online. If time is tight, those are the priorities.
Kitchen
The kitchen needs to look clean, open, and current. Clear countertops as much as possible. A coffee maker may stay if it fits the space, but multiple small appliances should go. Remove dish soap, sponges, drying racks, paper towels, and anything magnetic from the refrigerator. If there is a fruit bowl or one simple decorative piece, that can work. More than that usually starts to look staged in the wrong way.
Bar stools should be aligned. Pendant lights should have matching bulbs and all fixtures need to work. If the kitchen opens to a living area, make sure sightlines are clean, because wide-angle photos will capture more than sellers expect.
Living room
This is where furniture scale becomes a factor. Too much seating can make a good-sized room feel tight. Too little can make it look cold and undefined. Straighten pillows, fold throws neatly, and hide remotes, charging cables, toys, and pet items. If one accent chair is blocking flow or making the shot feel cramped, remove it for the photo session.
Bedrooms
Bedrooms should feel calm, not crowded. Make the beds tightly with simple bedding if possible. Nightstands should be nearly clear. Remove extra hampers, floor fans, stacked boxes, and anything stored under the bed that might be visible. In primary suites, less is usually better. Buyers respond to clean lines and open floor area more than decorative styling tricks.
Bathrooms
Bathrooms need a near-hotel level of simplicity. Put away toothbrushes, razors, medications, bath toys, scales, and all personal products. Close toilet lids. Use fresh towels, but not too many. If the vanity is packed with items, even a beautiful bathroom can photograph as chaotic.
Outdoor spaces
In South Florida, exterior images often carry as much weight as interior ones. Buyers care about pools, patios, balconies, waterfront views, and curb appeal. Sweep the deck, skim the pool, wipe outdoor furniture, and hide hoses, bins, and pool equipment where possible. If there is a view, frame it. If there is landscaping, make sure it looks intentional rather than overgrown.
Lighting can help or hurt the whole shoot
Lighting is one of the biggest variables in real estate photography, and homeowners often make it harder without realizing it. Open blinds and curtains unless the view is unattractive or harsh direct light is blasting into the room. Natural light usually helps, but it needs to be controlled.
Turn on all working light fixtures and replace bulbs ahead of time. Keep bulb color consistent within each room. Mixed lighting temperatures make spaces look uneven and dated in photos. A warm chandelier and cool recessed lights in the same frame can create a messy result that is hard to correct cleanly.
It also helps to think about time of day. A condo with an east-facing balcony and a west-facing living room may photograph very differently depending on the schedule. Homes with strong natural light, dramatic water views, or a pool area often benefit from timing that matches the property’s strengths. This is where coordination with your media team pays off.
Small fixes with outsized impact
If you are deciding what to handle before the shoot, focus on the issues the camera reads as neglect. Burned-out bulbs, crooked art, loose towels, wrinkled bedding, dented blinds, and visible extension cords all chip away at perceived value.
Minor maintenance details matter because listing photos are not just showing features. They are signaling condition. Buyers and their agents use visual clues to decide whether a home feels move-in ready, well cared for, or likely to come with surprises.
Fresh flowers are optional. Fresh caulk lines, aligned furniture, and touch-up paint are more valuable. If walls are marked up, patching and repainting often delivers a better return than adding more decor. If one room has a loud paint color that will dominate every image, neutralizing it may be worth the effort. It depends on the property and price point, but photos tend to reward simplicity.
How to prepare home for listing photos when occupied
Occupied homes are the most common challenge, and they require a more strategic approach. The key is not perfection. It is control.
Build a plan for what stays, what gets packed, and what gets hidden during the shoot. Closets matter less than main rooms in most photo sets, so temporary storage inside neatly organized closets or the garage can work. Cars should be moved from driveways when possible. Trash bins should be out of sight. Pets need to be removed, along with bowls, beds, crates, and litter boxes.
If children are in the home, focus on reducing visual noise rather than erasing all signs of family life. One well-styled bedroom is fine. A living room scattered with play mats and brightly colored bins is not helping the listing.
For agents, this is where setting expectations early matters. A pre-shoot checklist sent 48 hours in advance can save a lot of onsite delays and avoid the awkwardness of cleaning around the photographer. Serious sellers usually respond well when they understand the outcome: stronger first impressions, better click-through, and fewer wasted showings.
What not to do before listing photos
Some prep choices look helpful in person but backfire on camera. Heavy air fresheners, excessive decorative staging, and too many countertop accessories can make the home feel forced. So can furniture pushed against every wall. The room should breathe.
Do not leave ceiling fans running during the shoot. Do not rely on virtual correction to fix obvious prep issues. And do not assume the photographer can crop out clutter from every frame without compromising composition.
The other mistake is rushing. If the home is not ready, shooting anyway usually costs more in the long run. Reshoots, weak marketing, and a slower launch are far more expensive than one extra day of prep.
The real goal of prep
Preparing a home for photos is not about decoration for decoration’s sake. It is about reducing objections before they form. Clean, bright, well-edited imagery helps buyers understand the property faster. It helps your listing look stronger on MLS, property sites, email campaigns, and social content. It also helps sellers see that your process is built to compete, not just to check a box.
When the home is prepared properly, the photographer can focus on what actually moves the listing forward – strong composition, accurate light, better spatial storytelling, and images that make people want to book the showing. That is the difference between taking pictures and marketing a property well.
The best closing thought to give any seller is simple: prepare the home for the camera the same way you would prepare it for the most important buyer walking through the door, because online, that moment happens first.